Worms are an urban farmers best friend. As my wife and I learned about this symbiotic relationship there was no turning back. She had to have a worm bin and before I could event think of how to construct one we had already made an order for a pound of red wigglers (yes you need to get special worms..for more information on the specifics see
beckyintherootcellar
So with the order placed I had a timeline of about a week and an half to get this worm bin built and since we wanted to work our way up to a large worm casting yield we decided to go big. There are a couple of worm box designs out there. The main difference is materials (wood or plastic) and the way you want to harvest the castings. I'll post some links at the bottom of this post so you can look at some other methods as well. The box I built was wooden because where's the fun in drilling a couple of holes in a plastic tub.
Materials List:
- One- 5/8 inch- 4x8 foot sheet of exterior grade plywood
- Three- premium grade 2x4x8 foot boards. I used doug fir (do not use pressure treated for these piece as these will be on the inside and next to the worms (worms breathe through their skin so added chemicals could harm them)
- Two- Pressure treated 2x4x8' boards (these are used for the base of the box since it will be in contact with the ground).
- Exterior grade screws (box of 2 inch, box of 1 1/4 inch)
- Two- handles of your choosing
- Four- hinges
- Twelve- 2 inch Kreg self tapping screws
Since our truck is a Subaru Forester a full 8x4' sheet of ply wont fit in the car so we had Home Depot cut the 8x4 sheet in half length wise so that we had roughly two 2x8x5/8 inch sheets. Please note the wall saw at Home Depot may not cut the sheet in half as accurately as you may be able to do at home with your own circular saw or table saw. If you do get it cut at your DIY store make sure you check to make sure your walls are equal before you start screwing the box walls together.

Cutting the Plywood Lid, Base & Sides:
Once you cut the plywood in half make marks on either side of each piece at 3 ft. and 6 ft (creating two 2x3ft and one 2x2 ft section out of each 2x8 plywood sections.) In total you should end up with Four 2x3 ft sections and Two 2x2 ft sections of plywood. Like I said earlier. If the 4x8 sheet does not get cut exactly in half you will need to make an adjustment by identifying the two largest sections of the 2x3 pieces and assigning those as the top and bottom. The other two identical 2x3 pieces will become your front and back walls.
The 2x2 sections will also be off if you don't get the 4x8 sheet cut precisely in half. If this is the case simply measure what needs to be cut off of largest 2x2 piece to match the height of the smaller 2x2 piece (since you chose to use the smaller of the two 2x3 pieces for the front and back of the box that means the smaller 2x2 piece will match because it was cut from the same 2x8 sheet).
Helpful cutting tip:
When I need to make precise cuts with the circular saw I use an aluminum guide that I bought at Home Depot. I clamp this onto the piece and use my trusty 1 1/2 inch metal square to mark the distance between the cut line and the metal guide. Those crafty folks at Hitachi make the width from the blade to the outer edge of the circular saw guide 1 1/2 inches. The same width as the wider edge of my square. All I have to do is draw my line and clamp the guide next to the edge of my square on each end. Then cut away. This sure beets trying to free hand a cut like this.
Making the pressure treated base:

Once you have all of your plywood pieces you need to re-measure the length of your (front/back) 2x3 plywood section in inches as well as the 2x2 (left/right) plywood pieces. Once you have confirmed your dimensions knock off another 1 & 3/4 inch from the 2x3 measurement and use this as the first cut measurement for the 2''x4'' pressure treated (longest) front/back pieces of the base frame. Cut two of these. What you have done here is compensated for the depth of the 5/8th inch wide ply panels of the left/right (2x2 ft) sides that will be mounted on the inside edge of the 2x3 ft panels.

So here is where I messed up the first time and why my lid looks slightly different than yours' will if you follow these plans. So far the width of the base has been reduced because you are mounting the 2x2 ft panels inside the 2x3 ft panels. Before you think, "sweet, lets get going on screwing this thing together," you need to think about the depth of the box and whether the lid will fully cover 2x2 ft depth plus the inch and 3/4 span that has been created by the width of the front/back plywood panels. This means you need to cut and additional 1 & 3/4 inches off of the 2x2 plywood panels. To make the other two base pieces you will need to take an additional 4 & 3/4 inches off of the original 2x2 ft measurement. This is because you are subtracting the width of the 2x4 front/back base pieces as well as the 1 & 3/4 inches added by the plywood sides.

Once you have the pressure treated sides cut screw them together with 2 &1/2 inch exterior screws. The front/back base pieces should be face screwed into the ends of the reduced 2 ft sides. Since I was working alone to braced these as I screwed using my handy right angel square from Rockler to clamp the pieces together creating a solid square angle. Once the base frame is a completed square re-measure the width and length of the square frame to confirm the dimensions of the base or floor of the box. Use these measurements to cut the floor section of plywood material and screw it down to the pressure treated base using 1 & 1/4 inch screws.
Once the base and floor have been joined I decided to use a left over piece of the 5/8 inch plywood as a spacer so that the walls of the box would be attached slightly above bottom the pressure treated base.
I started by screwing in the font/back 2x3 ft plywood walls and then adding the (slightly less than) 2x2 ft left/right side walls to the base. Because of some bow in the plywood the walls my not line up perfectly. This will be corrected when you add the 2x4 frames to the inside of the box.
Framing the inside of the box is done with the 2x4 wall studs you purchased (don't use pressure treated lumber). Measure the height of all interior corners of the box. Then knock 3 &1/2 inches off of this measurement and mark your cut (this is because you are going to stack a 2x4 frame around the top edge of the box).
Helpful Cutting Tip:
In order to reduce the possibility wasting lumber when you are making a cut such as the one above always measure slightly longer (by about a 16th of an inch) and make your cut with your blade eating to the right of your line. If you end up being too long you can always take more off. Usually you just need to take another saw blade's length off to get it right.
Once you have cut 2x4's to be placed vertically in each corner you are ready to attach the plywood sides to the 2x4's in each corner. The 2x4's are to be placed parallel to each 2x2 plywood panel. Square up the exterior edge of the plywood corner while ensuring the interior 2x4 is flush in the corner. Send four 1 &1/4 inch screws through the 2x2 ft plywood wall into the 2x4 inch brace (wide side). Then drive four 1 &1/4 screws through the 2x3 ft plywood wall into the other edge of the interior 2x4 inch brace (short side). When doing this make sure you keep the 2x4 flush into the corner of the box and that the exterior edges of the box remain as square as possible. Reproduce this step for all 4 corner braces.
Once all vertical 2x4 braces are in place measure the interior length of the horizontal span between the left and right wall above the 2x4 corner braces. Do this for both the front and the back. Cut these and dry lay them. The top edge of these should be flush with the top of the plywood walls. Keep these in position to measure the horizontal span between the front/back on both the left and right side. Mark and cut and put in place. Use 1&1/4 inch screws to fasten all of the interior 2x4 top frame sections to the plywood sides. Then follow this up with 3&1/2 inch screws through all materials in each corner.
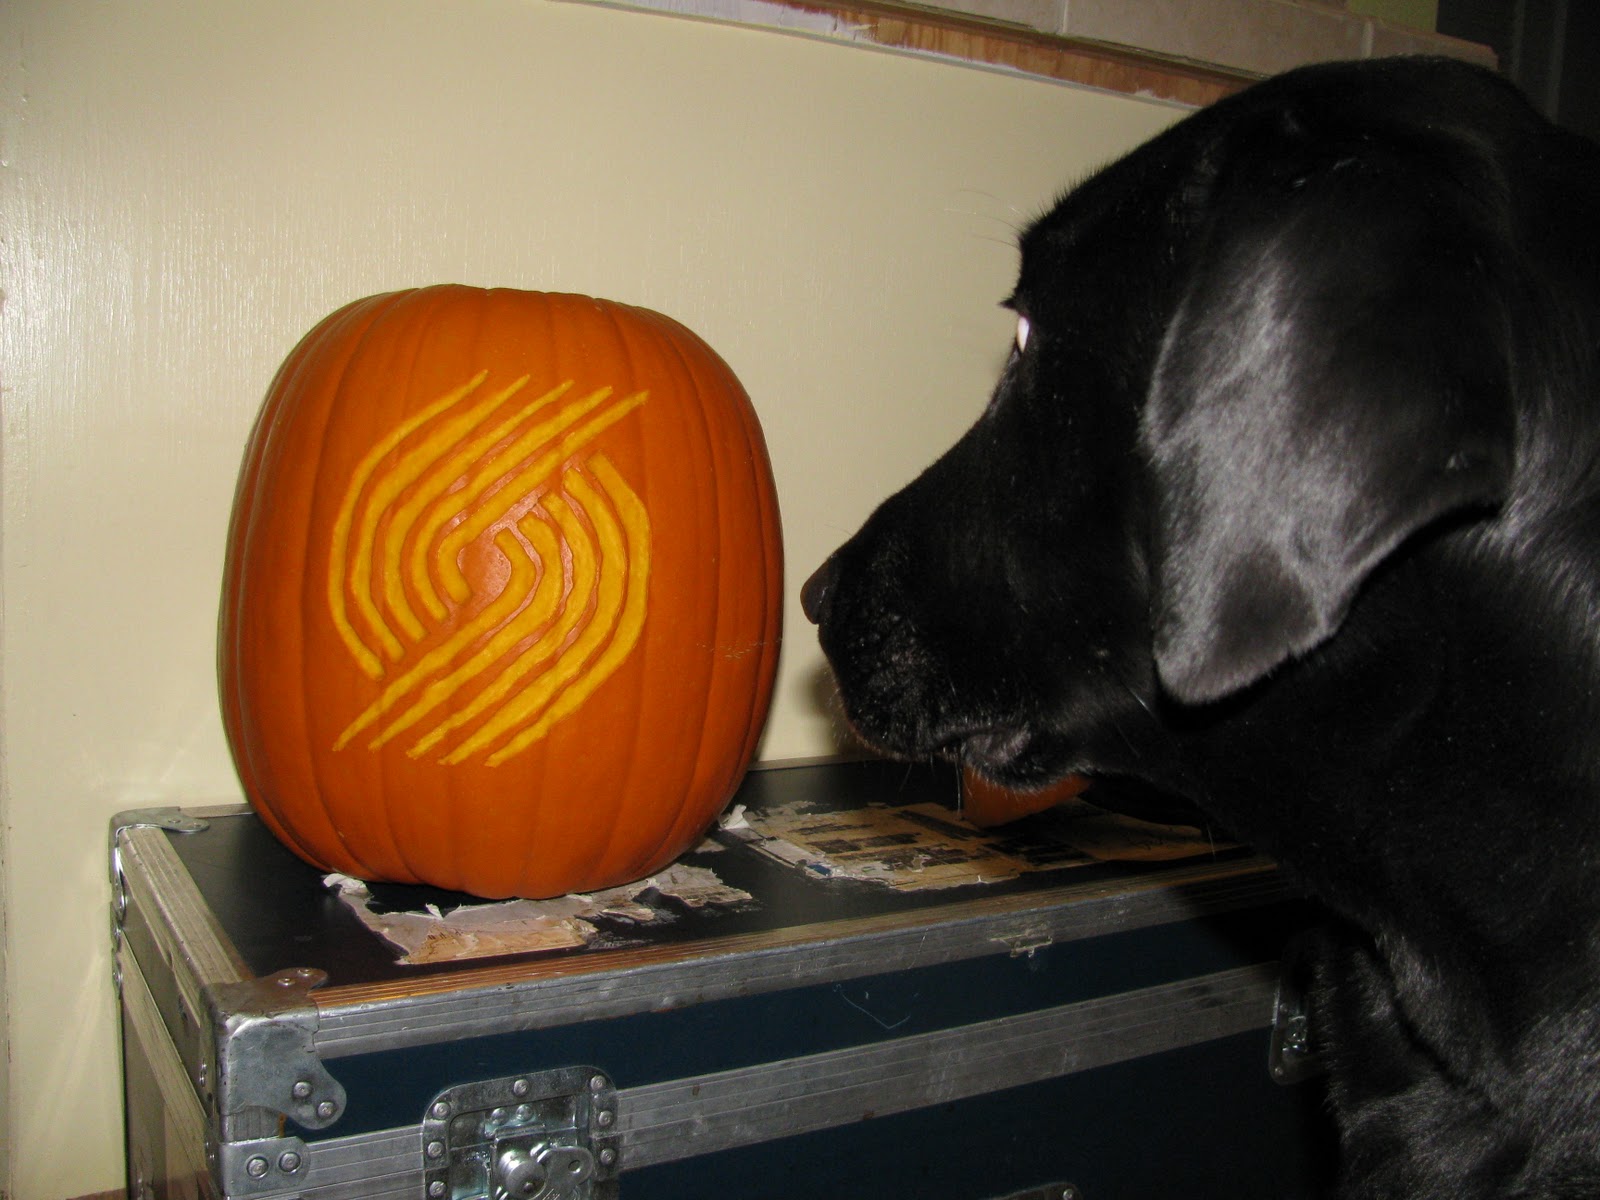
 |
| Have a dog? Have him help! |
Now the "box" is complete. Time to make the lid. To aide me in this process I used pocket joinery to create a 2x4 frame that was slightly larger then the square top of the box and then fastened my plywood lid onto the top of this 2x4 square frame.
Use a 1/4 inch drill bit to bore over 30+ holes into the floor of the worm bin and use wider bit (maybe 3/4 inch) to drill angled holes near the top edge of the box for even more ventilation. I drilled these holes at an upward angle because worms don't like light.
Fasten your hinges (I used four smaller hinges, you could use two heaver duty hinges) and attach your handles. Use a chain mounted to the lid and interior side of the box to keep the lid from flopping over when open. Or cut yourself a crutch to hold the lid open when you need it.
Here are some links to other plans and information.
http://whatcom.wsu.edu/ag/compost/wormbins.htm


 Since, I have moved on from a successful Blazers pumpkin to carve a negative space San Francisco Giants pumpkin during the late 2010 season and post season which ultimately lead to... well... a world series championship. I'm not saying that the rally pumpkin caused this by any means, but it helped. And so did the sacrificial seed roasting that got the Giants into the playoffs as they won a long series against the Padres. The actual pumpkin lasted about a few weeks carrying into the Giants winning the NL west. After that the pumpkin only lived on in fame as a picture on facebook and was figuratively lit when needed to proved rally momentum. (sometimes for the better, sometimes....it was not so effective).